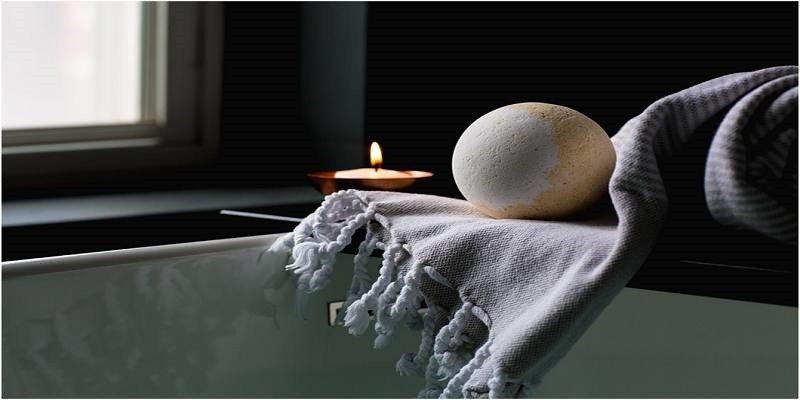
Bath Bombs are tiny capsules of soothing and calming elements that provide relaxation to your muscles as well as your mind. When you are tired, the first thing that comes to our mind is taking out some time to relax.
We are here to remind you of easy self-care to take your mind off the problems for some time and engage in a satisfying activity. With this beautiful six-step recipe, you can create your own DIY bath bombs, right at home.
Pre-requisites (Ingredients):
- 0.5 lbs of Baking soda
- 0.25 lbs of Epsom Salt
- 2 big glass bowls to mix
- 0.25 lbs of Corn Starch
- 0.25 lbs of Citric Acid
- 3 Tablespoons of any vegetable oil
- 1-2 teaspoons of water
- 8-10 drops of any food coloring
- Few drops of essential oils for aromatherapy
- Silicone/well greasedmolds (12-15)
- A whisk to blend
Make Bath Bombs at Home: 6 Easy Steps
1. Whisking Dry Ingredients
In a big glass bowl, combine all the dry ingredients, i.e., the baking soda, epsom salt, cornstarch and citric acid in the given measurements. They need to be blended well.
We use a weak acid and a strong base (baking soda) together to produce the bubbles and fizz in water. It is also important to note that if you are using powdered food coloring, you need to put it in the dry mixture.
2. Blending The Liquids
In the second bowl, we slowly make a concoction of the wet ingredients, which are the vegetable oil, food colouring drops, generous amount of essential oils and water. The liquid mixture needs to be of a smooth consistency.
Pro tip: A bath bomb smells wonderful if you choose the right essential oils, which can either be your holy grails, or through references from various bath bomb producing companies.
3. Crucial Step: Dry + Wet
This step can either make or break (literally) your bath bomb mix. Extremely slowly, pour the liquid mixture into the dry ingredients. Mix it, but gently.
This will avoid the fizz from forming before time. The texture of this should be like slightly damp sand on the beach, but not at all wet.
It should hardly stick together, and not fizz in the bowl.
4. Give Them a Shape
The silicone or greased molds should be ready before hand, about 12-15, depending on the shape and size.
DO NOT let the mixture be exposed for long in the air, as it will become dry and powdery, and will come out broken from the mold due to lack of hold. As soon as you are completed with the mixing, press it gently, yet firmly into each of the moulds.
The amount should be generous enough to pack it. Then, cover it properly.
5. Time to Set
The bath bombs need a good amount of resting time before they’re popped out of the mold. Ideally, give them about a day’s worth of time to set.
If you are running late or feeling impatient, leaving them overnight will do the job as well.
After this period gets over, slowly, take them out by tapping the mold from all sides with light taps.
6. Using the Bombs
The bath bombs can be used by throwing them into a nice and warm tub of water, for a relaxing bath. If they’re tiny, you can put them in a footbath and soak your feet to release tension from muscles and gently exfoliate them.
If you have plans to pack and give them, keep them in a dry place for a few hours before carefully wrapping them up in cute packaging with ribbons, if that’s your thing.
There, we did it for you!
We really wish that you have a good time in creating these bath bombs with this simple recipe and in giving yourself a much-needed break from the chaos.


